Okay, let’s cut right to the chase! 2016 was a great year to be a geek. Life is crazy, as usual, and here at iTechStorm we are no exception to being crazy about geek gear and gadgets. While there are some great new products, there are many existing …
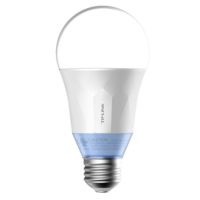
I have been on a personal hunt for a very long time when it comes to home automation or smart home gadgets. But rarely did I ever commit to a specific technology. I always imagined how nice it would be to incorporate a collection of devices that would …
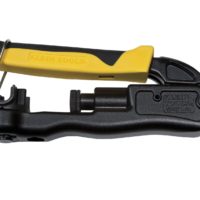
I recently had to purchase a new crimping tool for a project where I would need to compress BNC and F-Type connectors. It had been quite some time since I last needed to do some cabling. That was evident by the old-school crimpers I owned, before compression connectors …
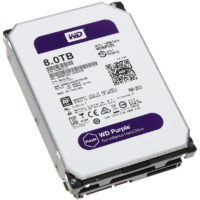
The Western Digital storage surveillance hard drive is intended for the rigors of write-intensive applications like the video surveillance market segment. As the demands for better security increase, so to will the demand for better surveillance. Of course this means high definition video footage is in high demand! …
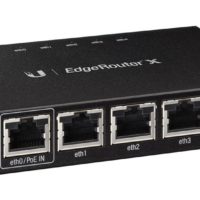
Introduction The Ubiquiti product line is rapidly gaining momentum through a strategy of offering quality hardware, enterprise features, intuitive interfaces, and proven performance at price points never before seen. These offerings are targeting the SMB (Small Medium Business), SOHO (Single Office Home Office), and power users alike with …
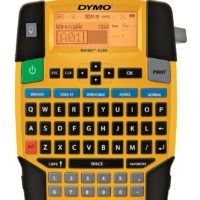
When it comes to remembering, I don’t. So began my hunt for a trusty label maker that would cover all the bases and not cost me a fortune. Comfort would be nice, but I wouldn’t make it a requirement if I found something I liked. Primarily I needed …